
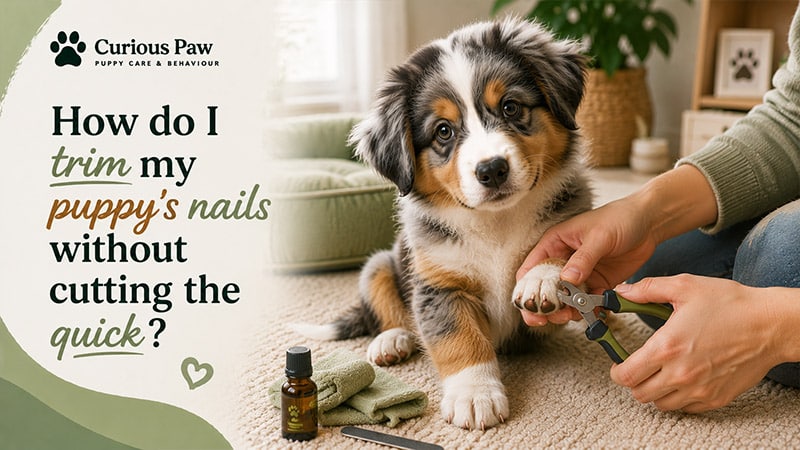
There’s a compounding problem with neglected nails that most owners don’t know about: the quick — the blood vessel and nerve bundle inside the nail — grows along with the nail as it lengthens. A puppy whose nails have never been trimmed doesn’t just have long nails. It has a quick that extends close to the tip, which means getting the nails to a comfortable length requires multiple trimming sessions over time rather than a single aggressive cut. The practical argument for starting nail care early isn’t just about preventing discomfort during walks — it’s that early, frequent trimming keeps the quick recessed and makes every future trim safer and easier.
Tools That Matter
Two main options: scissor-style clippers and nail grinders. According to VCA Animal Hospitals, scissor or plier-type clippers — where two sharp blades cross — are preferable to guillotine-style clippers, which use a single blade and tend to crush the nail rather than cut it cleanly. Crushing causes pain and increases the chance of cracking or splintering, particularly in puppies whose nails are still softer than adult nails. Sharp, clean-cutting clippers are less likely to cause discomfort even when the technique is imperfect.
Nail grinders work by filing down the nail gradually rather than cutting. They’re useful for dogs with dark nails where the quick is harder to see, and for finishing rough edges after clipping. The tradeoff: they take longer, produce vibration that some puppies find startling, and generate heat with prolonged contact on any one nail. Grinders are worth having but not the only tool needed.
Styptic powder is a non-negotiable addition to the toolkit. It stops bleeding immediately when applied to a nicked quick. Any pet supply store carries it. Flour or cornstarch work as a backup if styptic powder isn’t available. Having it present before starting removes the scramble if the quick is caught.
Introducing the Puppy to Nail Trimming
The first nail trim should not be the first time the puppy encounters the clippers. AKC recommends a gradual 5-day introduction before the first actual trim. Day 1: let the puppy sniff the clippers, give a treat, stop. Day 2: touch the clippers lightly to each paw, treat. Day 3: touch the clippers to the paws and squeeze them so the puppy hears the sound — no trimming yet, just the sound plus a treat. Day 4: repeat Day 3. Day 5: trim the very tip from one nail only. One nail, one treat, done.


This sequence builds the association that clippers predict treats before they predict discomfort. A puppy that first encounters clippers during an actual trim — especially if it goes poorly — has learned one thing: clippers are to be feared. The desensitization takes five days and pays off across the entire lifetime of nail care.
The Technique: Light-Colored Nails
On light-colored or white nails, the quick is visible as a pink line running through the center of the nail. Cut 2 to 3 mm away from the pink line — not up to it. Angling the clippers at roughly 45 degrees to the nail’s natural curve, clip from underneath the tip rather than straight across. This produces a cleaner cut that follows the nail’s natural shape rather than creating a flat edge. The goal is to remove the curved tip, not to flatten the nail end.
The Technique: Dark Nails
Dark nails are the harder case. The quick isn’t visible from the outside. The approach: take 1 to 2 mm off the tip at a time, making multiple sequential small clips rather than one large one. After each clip, look at the newly exposed cross-section of nail. Initially, the cut surface will look uniform — white, gray, or black. As the quick approaches, a gray-pink oval or circle will appear in the center of the cut surface. That circle is the quick. Stop trimming that nail when it appears. According to VCA, this progressive approach is the reliable way to avoid cutting the quick on dark nails without guessing.
How to Structure a Session
Not every nail in one sitting. This is the most common mistake, and it’s why so many dogs become progressively more difficult about nail trims over time. A puppy that was manageable for two nails but started struggling by nail six has communicated something important: the session was too long. Stopping at two or three nails with a high-value treat and a calm dismissal is a better session than getting through all twenty with a wrestling match at the end.
Starting with rear paws is a common groomer recommendation — rear paws are often less sensitive and less closely watched by the dog, making the early nails easier. Front paws can follow once rear paws are done calmly over a few sessions.
Frequency: every two to three weeks is the standard recommendation for maintaining length. Nails that click on hard floors are too long. The goal length is where the nail doesn’t contact the ground when the puppy stands normally.
If You Nick the Quick
Apply styptic powder to the nail end and hold gentle pressure for 30 seconds. The bleeding stops quickly. The puppy will be startled and may pull away. Stay calm, don’t react dramatically, and end the session for the day. A dramatic owner response teaches the puppy that the event was more significant than it was. A calm, matter-of-fact response followed by a treat and a quiet end to the session leaves the association manageable.
Even professional groomers nick the quick occasionally. VCA is explicit on this — it happens, it’s recoverable, and the key variable is what happens next. A puppy whose quick was nicked and was calmly handled, given a treat, and had the next session kept short and positive usually recovers the tolerance for nail care within a few sessions. A puppy whose owner responded with distress, continued trying to get through the rest of the nails, or skipped nail trims for months afterward has a harder road back.